Exercise 3 : Entity Control
Description
In this exercise, you will implement a couple of simple behaviors, work with the Unity Input System, and implement local multiplayer.
In case of any problems, please see the FAQ and the Problems and Solutions. If your problem is not listed, contact me by e-mail (Tomas Polasek : ).
Instructions
This exercise consists of three segments. It is recommended to follow the order:
- Gun and Enemy Behavior
- Alternative Control Scheme
- Local Multiplayer
Download the project template from the Materials section and follow the same general procedure as in the second exercise. However, this time, do not use the 2D view, since the template is built in 3D. The primary control scheme already implemented within the game is following:
- WASD : Movement
- Mouse : Aiming
- Left Mouse Button : Shoot
- Space : Switch Mode of Fire
Gun and Enemy Behavior
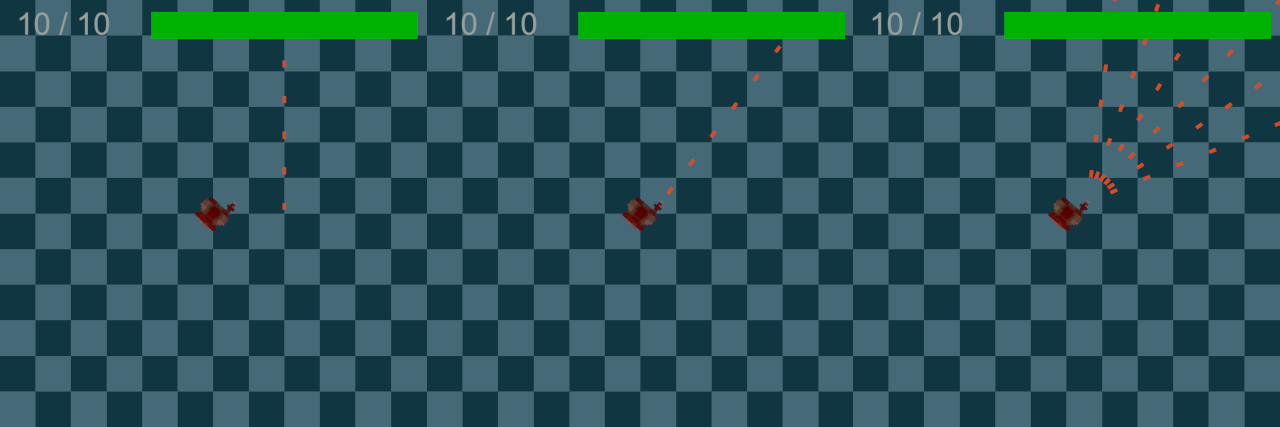
Start by implementing the Gun behavior by modifying the Scripts/Game/Gun.cs script. First, start up the game and try combination of moving and shooting. Notice, that the bullets do not originate within the gun, but are instead spawned at the origin. Your goal will be to ammend this problem and implement a secondary mode of fire.
The primary code should be contained within the ShootGun method starting on line 187. First modify the script so that the bullets are correctly oriented and positioned even for moving players. After modifying the script, you should make sure it is reloaded. Use Ctrl + R to force reload. Then, follow by creating a second mode for the weapon by using the shotgun switch (activated by <SPACE> by default). The second mode does not necessarily need to be a real shotgun, but it should be sufficiently different from the main mode of the weapon.

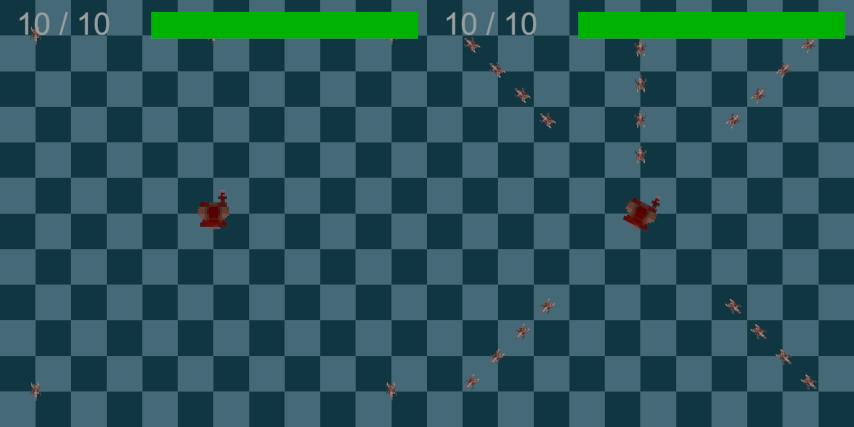
When you get the weapon to work (you will need it), continue by implementing the Enemy behavior. First, enable the spawners already placed within the scene. To do so, select the EnemySpawner and MultipleSpawners objects in the Hierarhy window and click the checkbox on the top of the inspector. Their names in the Hierarchy should change from grey to white. Start the game and notice that the enemies spawned currently do nothing interesting. Your goal will be to make the enemies follow the player. Implement a simple AI which will follow the closest player, by modifying the FixedUpdate method in the Scripts/Game/Enemy.cs script, on line 60. Remember to reload the script, forcing with Ctrl + R if necessary. Now you should have the enemies following the player character, while the player should be able to defend themselves by shooting.

Alternative Control Scheme
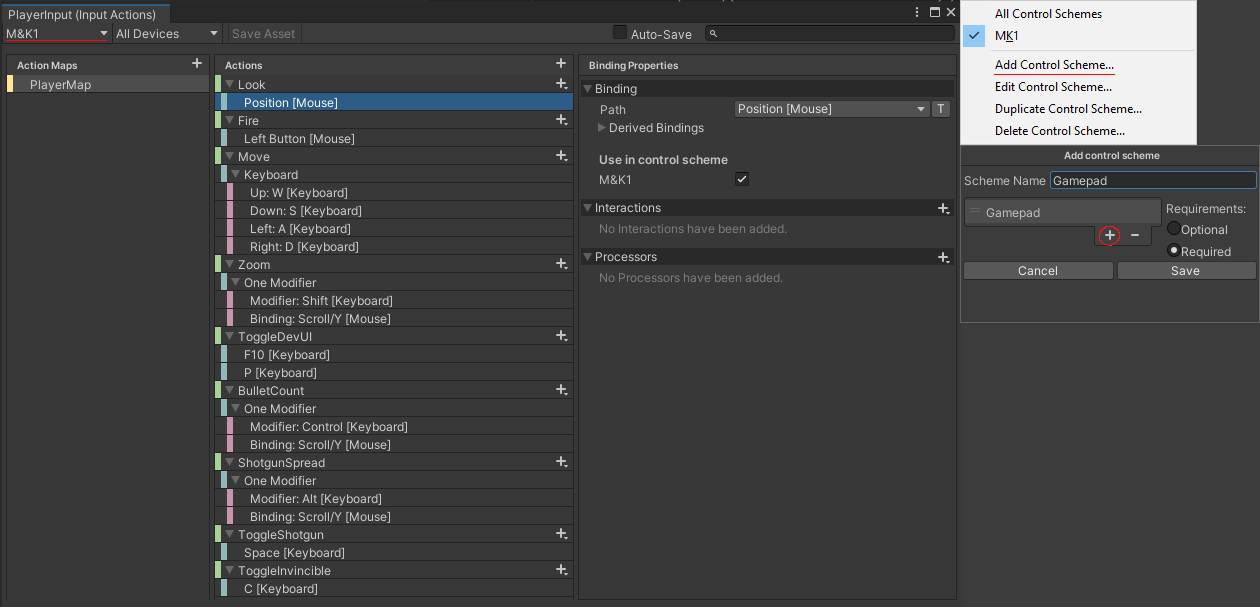
To create an alternative control scheme usable by the main character, you will need to modify the default Action Mapping in Input/PlayerInput.inputactions. Open the mapping and start by creating a secondary control scheme. Then, add secondary bindings for each of the pimary actions, using one of the following:
- Left Stick : Movement
- Right Stick : Aiming
- South Button | Right Trigger : Shoot
- North Button : Switch Mode of Fire
In case you don’t have a controller on hand, you can use the virtual gamepad provided under the Canvas GameObject. To toggle the virtual gamepad, use the V by default. To enable the virtual gamepad permanently, you can also select the VirtualController in the GameObject Hierarchy and enable it by using the checkbox in the Inspector. In case of problems with new bindings, try re-importing all assets from the right-click menu in the Project/Assets window.
Finally, make sure that the PlayerInput Component on the Prefabs/Player.prefab is correctly set to accept any of the available schemes and auto-switching is enabled.

Local Multiplayer
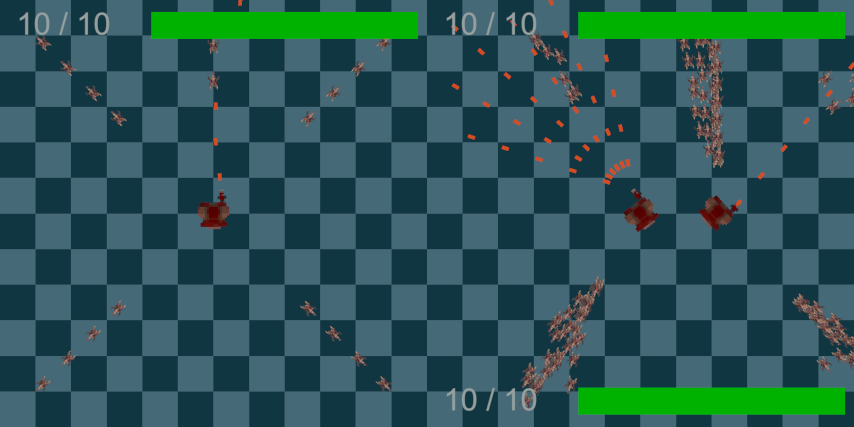
Finally, you will modify the game so that the newly added control scheme does not work as an alternative means of controling the main player, but instead allows multiple players to play at the same time.
Start by adding the Player Input Manager Component to the scene. For example, add it to the GameManager GameObject in the Hierarchy - Add Component -> Player Input Manager. The addition and removal of the players is handled automatically. However, you will need to modify the Settings script Scripts/Game/Settings.cs line 100 in order to detect when a new player joins or leaves the game. The second player should appear once any button in the secondary control scheme is used. For further hints, consult the the Unity Documentation.

Submit the Exercise
Submit the results according to the procedure detailed in the Exercise Submission chapter.
Task checklist:
- Implement the Gun and Enemy behavior
- Add a secondary Gamepad control scheme
- Allow local multiplayer with second player
FAQ
Following are some problems and solutions which may occur during this exercise:
- In case of input-related errors, try reloading assets (Ctrl + R) or using the Reimport All function from the right-click menu in the project assets.
Materials
Project Template : [zip]